How To Put Arrow On Picture On Windows Or Android
When you want to show something very specific in a picture or a screenshot, the arrows pointing to that exact thing in the picture can be really helpful. However, adding arrows can take up a lot of time and even grim up the whole picture if not done with the right tool. And with so many editing tools out there, it can be really hard to decide which tool can get your work done in the quickest way possible.
And that is why in this article, we are going to show you how to draw arrows on pictures on both Android and Windows. So you can easily mark up a picture and clearly point out the things you want the people to notice.
Recomendado Read: How To Join Photos Or Screenshots Together
Conteúdo
Draw Or Add Arrows To Pictures On Windows
Microsoft Paint (With Video)
Microsoft Paint is probably the most standard tool to edit photos. Various tools available in Microsoft Paint lets you draw, color, sketch, and include text in the photo. And with all that, you can also include várias formas in the photo, like an arrow.
- Abre Microsoft Paint no seu computador.
- Clique Abre icon to find the image you want to edit, or simply drag the image to Microsoft Paint.
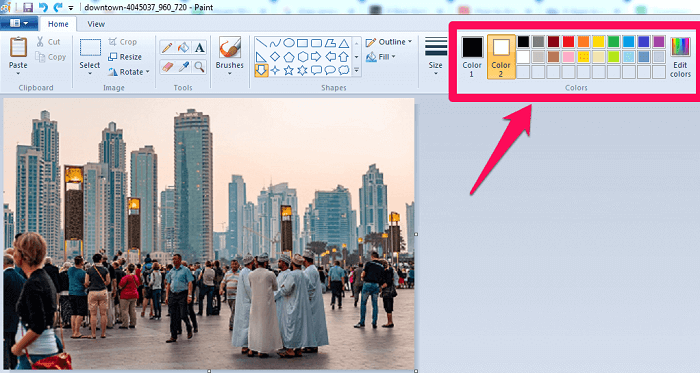
- Select your desired color from the paleta de cores.
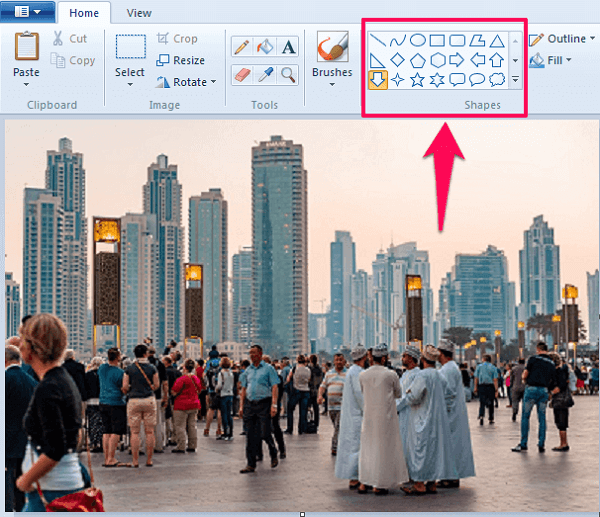
- Go to Shapes and select an arrow from Up, down, left, and right arrow.
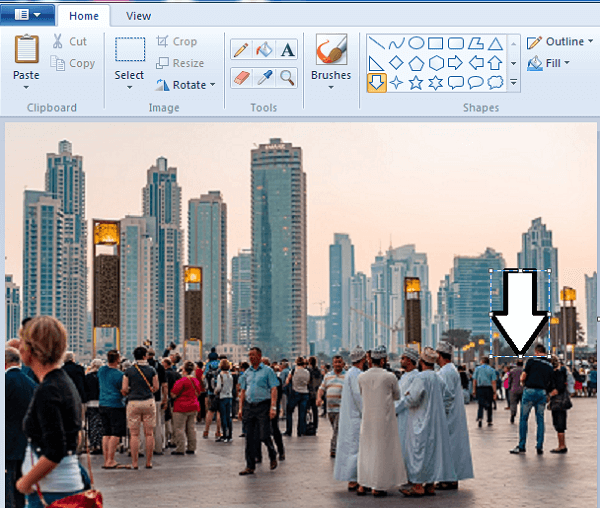
- Keep the cursor where you want the base of your arrow to be, and while pressing the right mouse button, drag the cursor towards the target.
- If the arrow is slightly off target, then simply drag the arrow to the correct position while pressing the right mouse button.
You can also check out this video:
Skitch
Skitch features on our list of the best software for Windows and Mac. It is an application with the help of which you can include annotations, shapes, and sketches in your photo to make your point more clear. This application has a very user-friendly interface, so you can straight away start working after installing it on your PC/Laptop.
Note that Skitch can also be used by Mac users for marking up photos and can be downloaded from the official Mac App Store or through the same link.
- Download Skitch from aqui.
- Run the application, open, or drag the picture which you want to edit to the software’s editor.
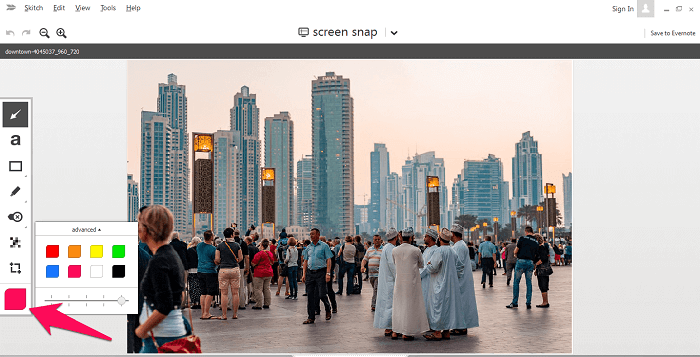
- Selecione os Ferramenta de seta from the toolbar on the left.

- Choose the desired color and thickness of the shape/arrow by clicking on the Color and Tool sizes icon on the bottom of the toolbar.
- Hold down the right mouse button and drag the cursor from the base towards the target.

Szoter
If you’re looking to include annotations or shapes in your picture without downloading any software on your PC or laptop, then Szoter can be the right tool for you. Szoter is an online tool that lets you edit your picture without having it installed on your system. And the best part is that you don’t require any sort of registration before saving the edited picture on your PC.
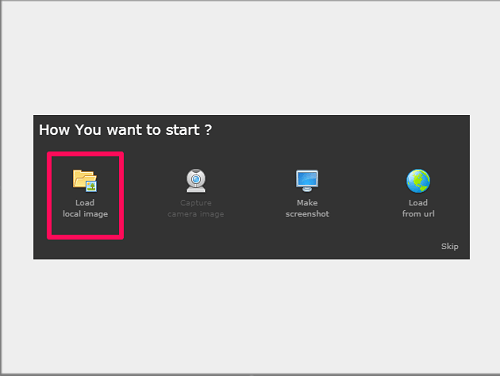
- Acesse Szoter’s official website.
- Clique em Launch Editor (you’ll need to have JAVA e Adobe Flash Player installed on your PC to launch the editor.)
- Before getting to the editor, load the image you want to edit with the tool.
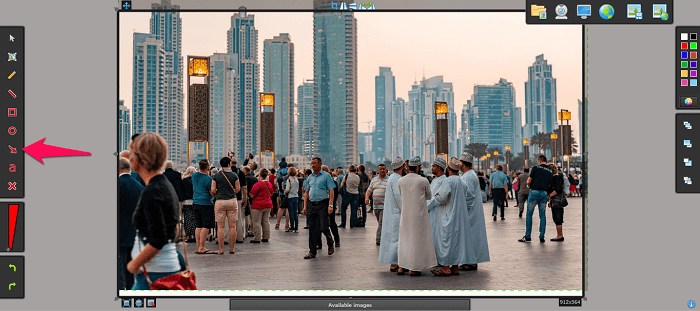
- After your image is loaded, select the Ferramenta de seta da barra de ferramentas.
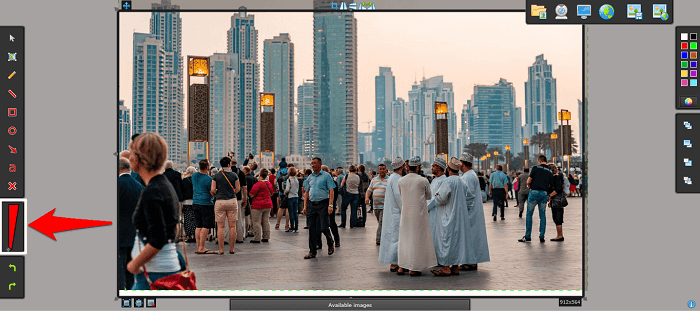
- Select the desired thickness of the arrow by using Change Size Tool
- You can also change the color by using the paleta de cores no extreme right do editor.
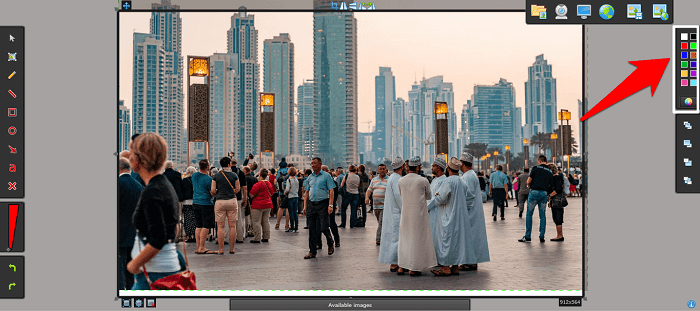
- Now, similar to those previous tools, start dragging the cursor while holding the right mouse button and leave it just before the target.
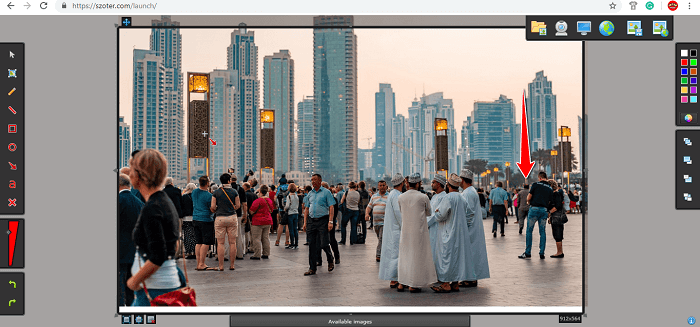
- After you’re done with the editing, save your picture clicando em Salvar ícone.

Add Arrows To Pictures On Android
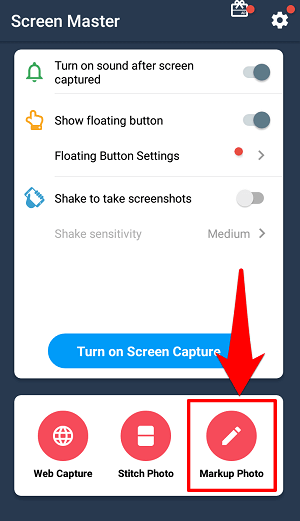
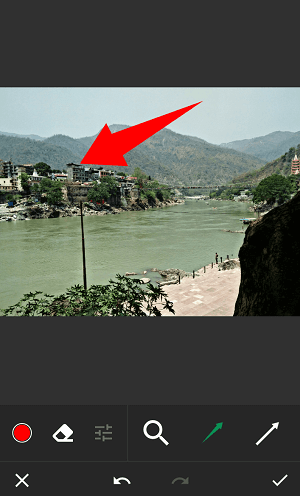
Mestre da tela
Screen Master is probably one of the most popular and user-friendly apps to include shapes and annotations to the pictures. It also lets you take screenshots of the screen and of the web pages. The best thing about this app is that you don’t need to root your device to use it on your Android phone.
- Instale o Screen Master app on your phone from the Play Store.
- Inicie o aplicativo e clique em Markup Photo.
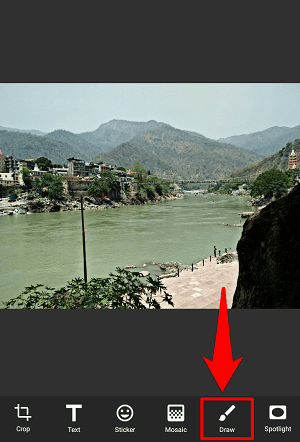
- Select the photo you want to annotate from your media.
- After getting the photo on the editor, select Ferramenta Desenhar da barra de ferramentas.
- Now, tap on the arrow icon, and change the color/size using the color palette tool.
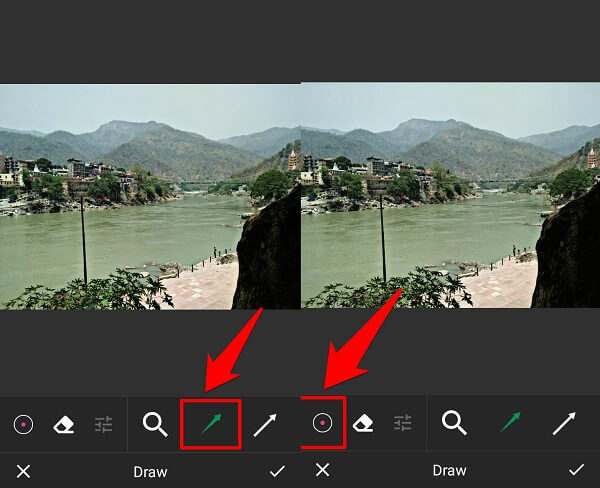
- Next, simply glide your finger on the screen to draw the arrow icon.
Annotate – Image Annotation Tool
If Screen Master didn’t work for your device, then we have an alternative for you. The Annotate App is yet another user-friendly annotation tool for Android devices.
This app is relatively new when compared to other tools. And you need to upgrade to paid version for using tools like Blur/pixelate tool and Magnify. But still, it lets you add shapes like an arrow, circle, and rectangle in your picture in the free version.
Add Arrows To Pictures On Android Video
You can also check out this helpful video:
Artigos recomendados:
Conclusão
It gets really tricky to highlight the relevant part of the image when the image is filled with too much information. Whereas, presenting a clear message to the people can get much easier when shapes like circles and arrows are used in the images.
All you need is the right tool with clear instructions to get the desired results, which we’ve tried to provide you with in this article.
BTW, beside arrows, you can also add text to pictures with tons of other drawing options with the editores de fotos mencionado aqui.
Deixe-nos saber o que você pensa nos comentários!
Artigos Mais Recentes